OBDF 310: My First Defintion!
Back at it again with Rhino, but this time with the addition of grasshopper! After these first few tutorials and exploring grasshopper I can tell that there is going to be a steep learning curve, but I am so excited to work with grasshopper. The tutorials were super engaging and definitely made me want to explore other tools in the program. I think my biggest wow moment with grasshopper so far as been how quickly you can change the appearance of geometry or replace the logic of an entire section. I found most of the tutorials easy to follow and learned lots about how the interface works and how t find tools and understand data. The only area that I had issues with was the assigning colours. My definition that I made while following the tutorials did not show the gradient through the curves, rather they were all the same colour, so I will continue to look at that and see where I went wrong.
Tutorial Screenshots
 Screenshot of most of the created parameters
 Screenshot of tutorial 1 and 2 outcomes
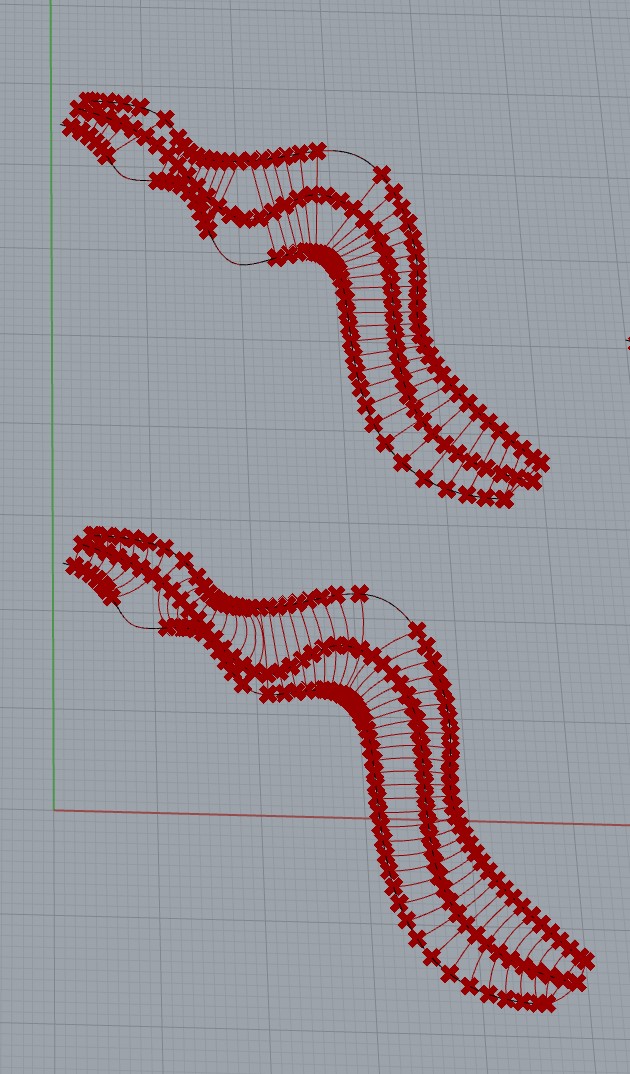 Screenshot of tutorial 3 outcomes
 Screenshot of tutorial 4 and 5 outcomes
 Screenshot of tutorial 6 outcomes.
 (This is where I struggled to have the gradient show the line length.)
My Own Definition.
After completing the tutorials I made a new file and just started browsing the various tools and the inputs and outputs they required. I found the rotate tool and thought that it could be fun to experiment with that tool alongside sliders. As I started working and experimenting I ran into some hiccups regarding the logic and math, so I went to YouTube and a few forums to figure out which components I was missing. After this I reconfigured my script component, and added my radians and construct domain components. And finally it worked! I was able to change the rotation of both the top and bottom shapes, as well as the overall size of the object as by adjusting my sliders. After my initial excitement of making this work I wanted to add colour or a material, but was unable to remember how to assign materials to objects after class.


Comments
Post a Comment